Create Solution in PowerApps
Navigate to PowerApps maker portal https://make.powerapps.com/
As a Best Practices we should always create an App Inside the Solution , so we can keep our own word in separate container.
- So Lets create a solution
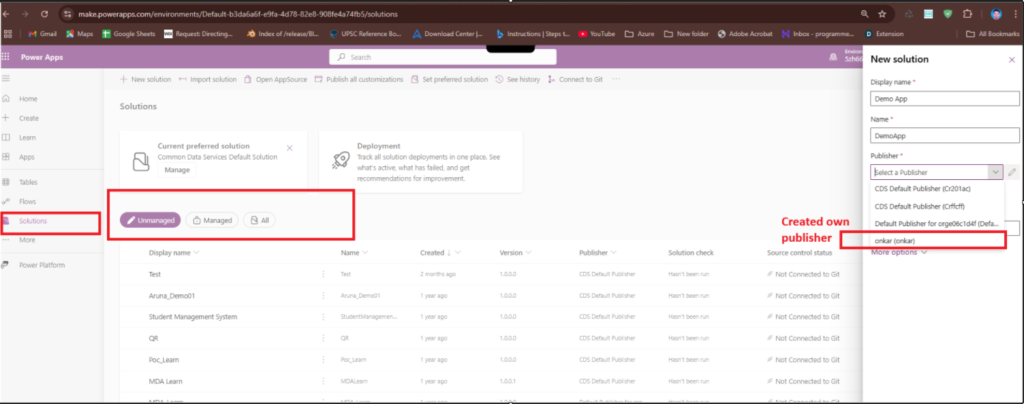
- To create solution – go to Solution section from Left sidebar
- Click on New Solution
- A New Form Appear on right side – Fill the details Like
- display name
- Name
- make sure to select publisher (You can create your own publisher)
- A publisher is associated with solution in PowerApps, It defined unique prefix for components in solution ex. If you create an entity, fields, App in solution . We will see more about Publisher
- Fill version, (Versions are important for managing the solutions within the environments)
- Click on Create
Now After creating the Solution, we can see on Solution Portal.
When we create a New Solution, By default the type of solution is Unmanaged solution
- Managed Solution – A locked, read only solution used for deployment and we cant edit the component in target environment.
- Unmanaged solution – It is a customizable solution used for development, and allow modification on target (Normally dev) environment.
Now lets open the solution,
Now we have three sections on UI (Body)
- Solution Overview
- List of Objects
- component detail
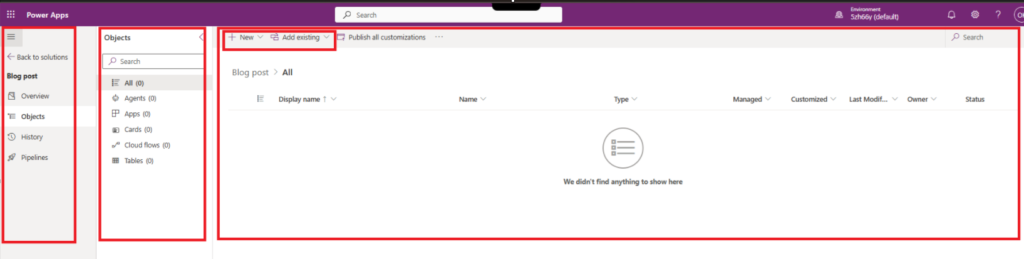
By click on New or Add Existing button we can Add or Create New/Existing tables, Apps, Cloud flows, Business Rules, Security Roles, Dashboards, Web-Resources and Many more components